Back to article
3339
Wearing and adjusting your earbuds
Proper fit is important for product comfort and performance. Get tips on how to properly fit and adjust your earbuds.
Wearing your earbuds.
- Insert the earbud so the eartip gently rests at the opening of your ear canal.
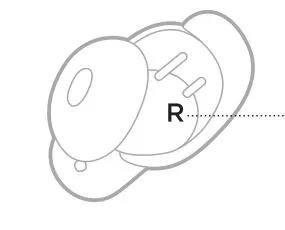
Each earbud is marked with either an R (right) or L (left).
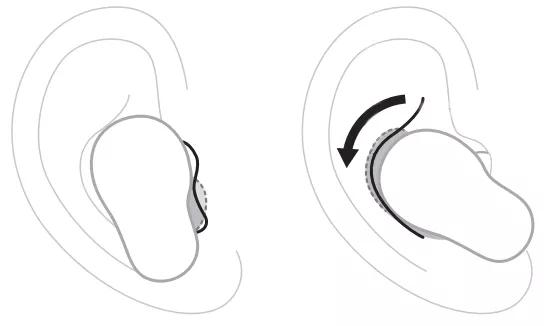
- Slightly rotate the earbud back until the eartip creates a comfortable seal at your ear canal and the stability band rests against your ear ridge.
You may need to rotate the earbud back and forth for the eartip to create a comfortable seal. However, rotating it too far back or forward may impact audio and microphone sound quality. - Check the fit.
- Repeat steps 1 – 3 to insert the other earbud.
Checking your fit.
For the best fit, audio performance, and noise cancellation, use a mirror to make sure you’re using the correct size eartips and stability bands. You may need to try a different size eartip or stability band for each ear.
You can also check your fit using the Earbud Seal Test in the Bose app. You can access this option from the earbuds Settings menu.
You can also check your fit using the Earbud Seal Test in the Bose app. You can access this option from the earbuds Settings menu.
Eartips
- Proper fit - The eartip gently rests at the opening of your ear canal to create a comfortable seal.
Background noise should sound muffled before the earbuds are powered on and noise cancellation is active - Too much pressure - The eartip feels uncomfortable and squished in your ear canal
- Too loose - The eartip rests too deep in your ear canal, feels loose in your ear, or falls out when you move your head
Stability Bands
- Proper fit - The band doesn’t stick out or feel squished against your ear ridge
- Too big - The band is sticking out or feels squished under your ear ridge
- Too small - The band doesn’t reach your ear ridge
Try other size eartips and/or stability band sizes.
Wear the earbuds for an extended period of time. If the earbuds don’t feel comfortable or secure, or noise cancellation or sound quality isn’t as expected, try another size eartip or stability band. You may need to try all three eartip or stability band sizes, or use a different size eartip or band for each ear.
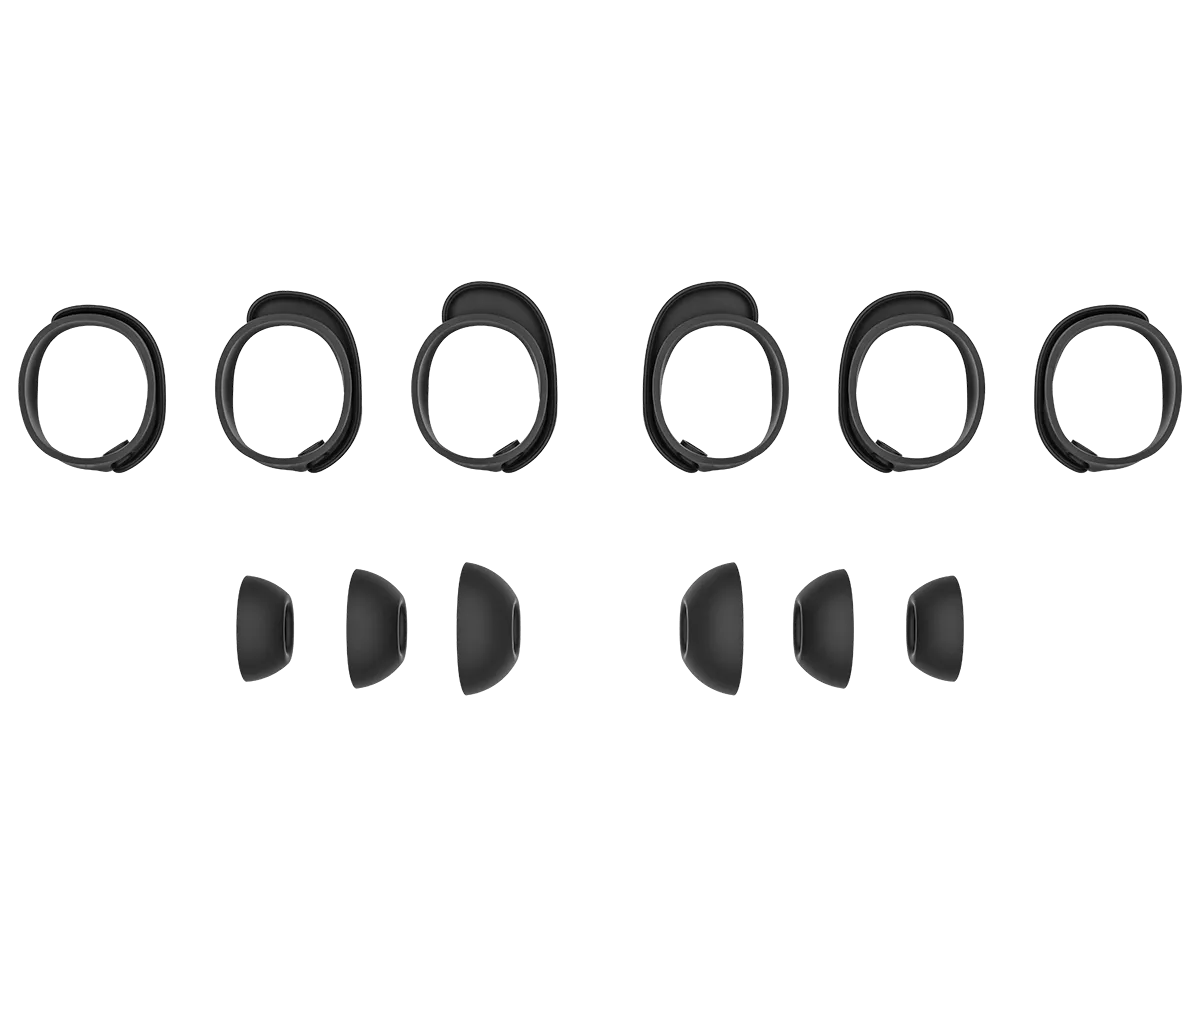
Eartips - The eartips come in small, medium, and large. Medium eartips come attached to the earbuds. If they feel too small, try large eartips. If they feel too big, try small eartips.
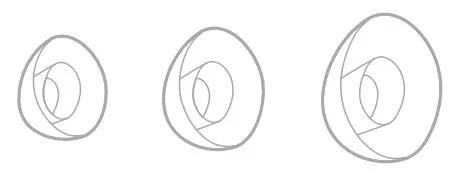
Stability bands - The stability bands are marked with size 1 (small), 2 (medium), or 3 (large) and an R (right) or L (left). Size 1 bands come attached to the earbuds. If they feel too small, try size 2 bands.


Eartips - The eartips come in small, medium, and large. Medium eartips come attached to the earbuds. If they feel too small, try large eartips. If they feel too big, try small eartips.

Stability bands - The stability bands are marked with size 1 (small), 2 (medium), or 3 (large) and an R (right) or L (left). Size 1 bands come attached to the earbuds. If they feel too small, try size 2 bands.

Begin the Earbud Seal Test.
- In the Bose app
, select your earbuds then tap the Settings icon
in the upper-right corner.
- In the How To Wear section of the Settings menu, select Earbud Seal Test and follow the instructions presented in the app.
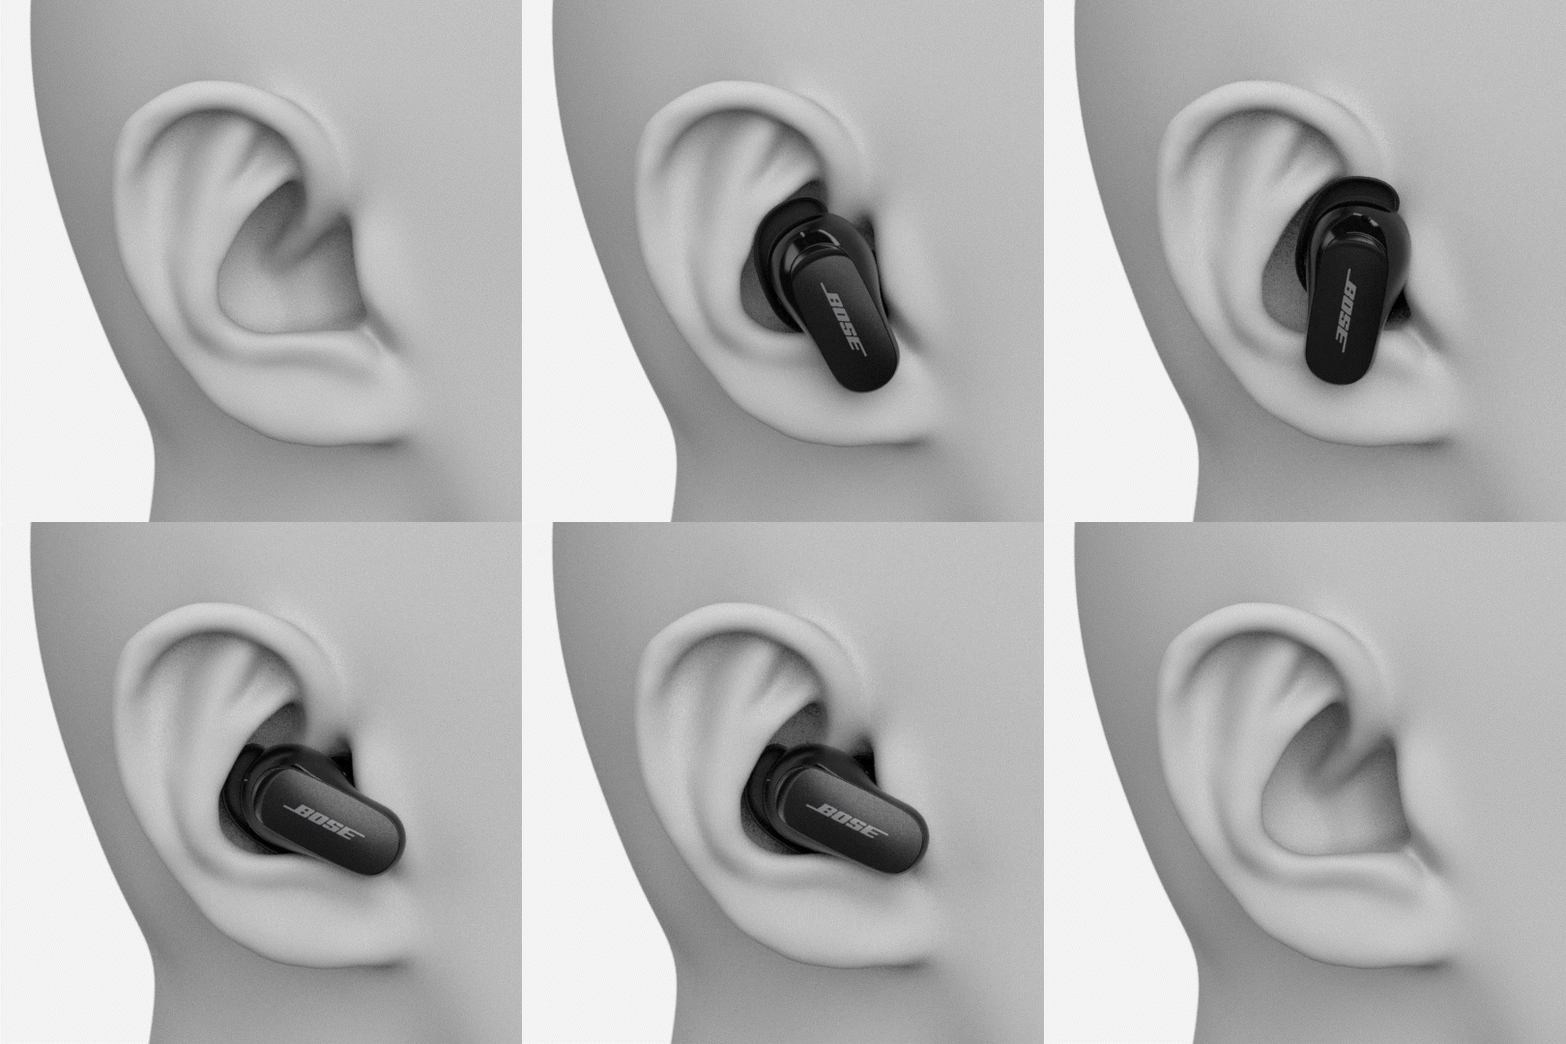
Make sure the earbuds are oriented correctly for the best microphone performance.
Proper fit is important for product comfort and performance. If the earbuds do not fit properly or the orientation is incorrect it could lead to poor audio or mic performance.
Earbud Orientation
| Good - Logo pointed toward mouth/chin | 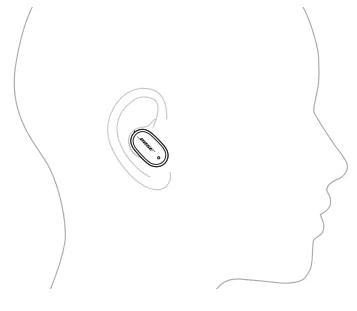 |
| Okay - More vertical ... logo pointed down toward lower neck | 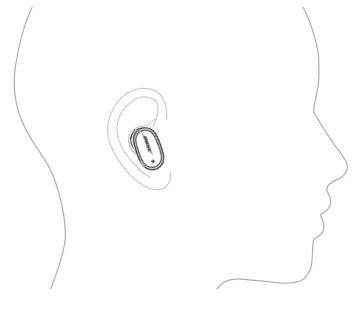 |
| Poor - More horizontal ... logo pointed toward bridge of nose | 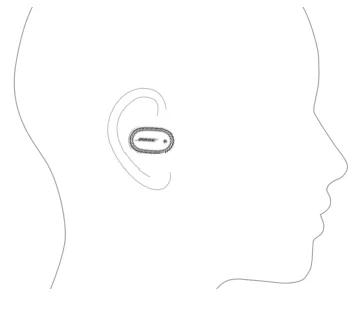 |
| Bad - More than horizontal ... logo pointed toward eyes | 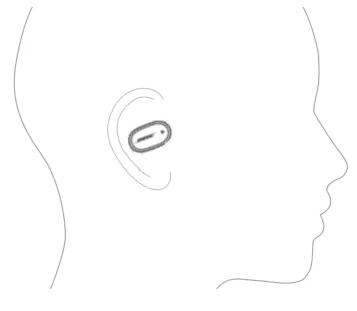 |
See Wearing and adjusting your earbuds for additional details.
Was this article helpful?
Thank you for your feedback!


